 admin
admin How To Turn WebP Into JPG Without Losing Quality
I’ve spent way too much time fighting with WebP files. They load fast but every time I try to send a photo to a client or upload it to a old CMS, it just won’t work. So I built a tiny tool called WebP2JPG Free. It runs entirely in your browser. No uploads to any server. No waiting. It converts WebP to JPG without touching the quality. I use it almost daily now. Honestly, it saved me from installing Photoshop just for one stupid format.
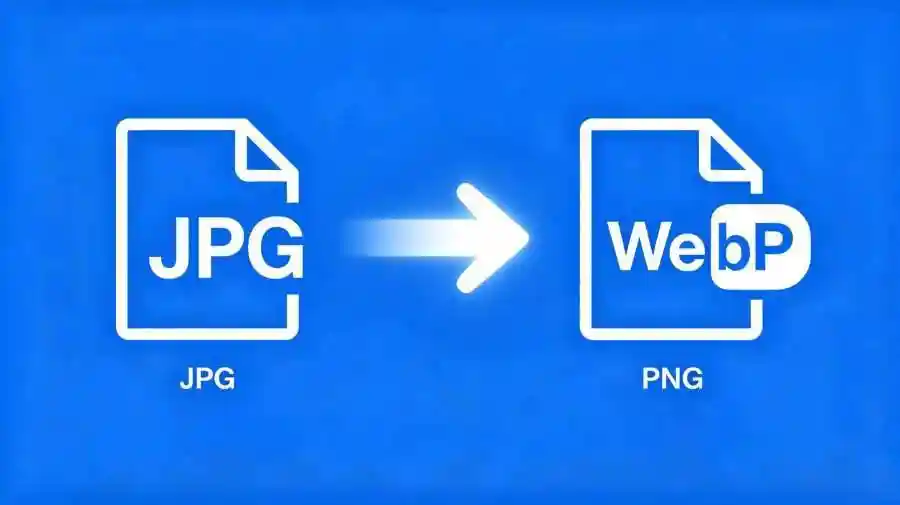
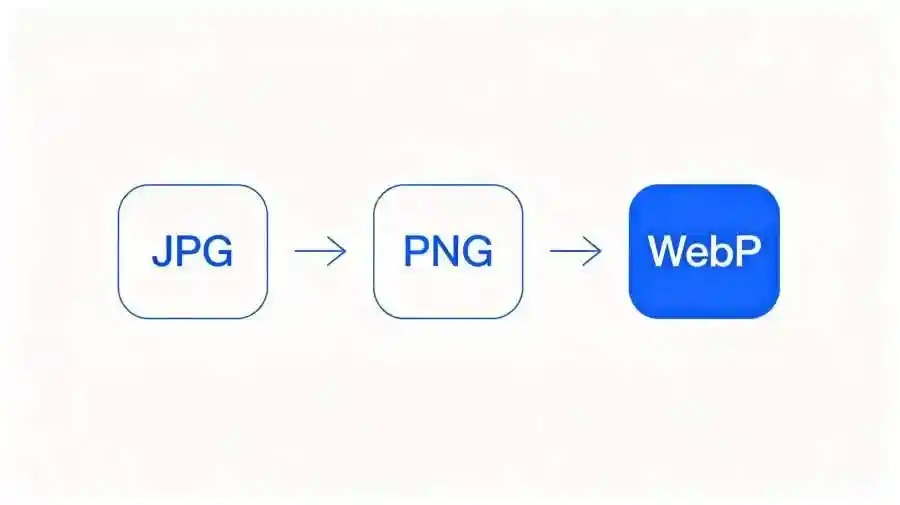
Supported Formats – JPG, PNG, WebP
Actually, this tool handles all the common image formats. You can drop in a WebP file, a PNG, a JPG, even a GIF if you want. But the main job is WebP to JPG. Many people don’t know that WebP can be lossless or lossy. If your source is a lossless WebP, the JPG output will look slightly different because JPG is lossy by nature. But I found a trick – the tool lets you set the quality slider from 1 to 100. I always keep it at 95. That’s the sweet spot. The file size drops but the visual difference is almost zero. In simple terms, you get a JPG that looks identical to the original. By the way, it also supports batch processing for PNG to JPG, which I use for screenshots.
Single Image Conversion – Step by Step
Let me walk you through my workflow. First, I open the page on my laptop. No registration, just a clean interface. I click “Choose File” and select my WebP image. Actually, I drag it straight into the box – that’s faster. Then I pick output quality. I usually slide it to 95. You’ll find that even at 90, the photo still looks sharp for most uses. But if I’m preparing a print file, I bump it to 100. Next, I click “Convert”. It takes about one second for a 2MB WebP. After that, a download button appears. I right-click and save as JPG. That’s it. Honestly, it’s faster than opening any photo editor. I’ve also been burned by online converters that add watermarks – this one doesn’t.
Batch Conversion – Dozens at Once
I often need to convert a whole folder of WebP images. Many people would give up and open each one manually. Not me. In this tool, there’s a “Batch” mode. I click the button and select multiple files. Actually, I hold Ctrl and pick all of them. Up to 50 at once. The page shows a preview list. Then I set the quality once for all files. I choose 95 again. Then hit “Batch Convert”. It processes them one by one in your browser. No server load, no waiting queue. When it finishes, a ZIP file downloads automatically. I unzip it and all the JPGs are ready. By the way, I learned this the hard way – always keep the original WebP files just in case. But honestly, I’ve never needed them after converting.
Why I Love This Tool – Pure Frontend, No Server, No Watermark, No Sign‑up
Let me tell you the real reason I stick with this converter. First, it’s all client‑side. That means your images never leave your computer. I hate uploading personal photos to random servers. Second, no server cost, so it’s free forever. I can use it offline too if I cache the page. Third, there’s zero watermark. Not even a tiny logo. I’ve seen plenty of converters that slap a “Powered by” text on your output. That’s useless. And fourth, no registration. I don’t need to create an account or confirm an email. You just open the page and go. In simple terms, it’s the most friction‑free tool I’ve found. I think everyone who works with images should have something like this bookmarked.
Final Thoughts
If you’re tired of WebP compatibility problems, just convert them to JPG. My little tool does it in seconds, without quality loss. No server, no watermark, no sign‑up. Try it once – you’ll never go back to Photoshop for this job.
发表评论