How To Optimize Images By Converting To WebP
I used to have a slow website. Images were the main culprit. Big file sizes hurt my loading time. Then I found WebP format. But converting images felt like a chore. Honestly, I wasted hours on complicated software. Then I discovered a tool called Squoosh. It’s a free, open‑source image optimizer. You just drag and drop. Everything runs inside your browser. No uploads, no server load. It’s fast and private. I love that it works offline too. Basically, it’s a lifesaver for anyone wanting to optimize images without hassle.
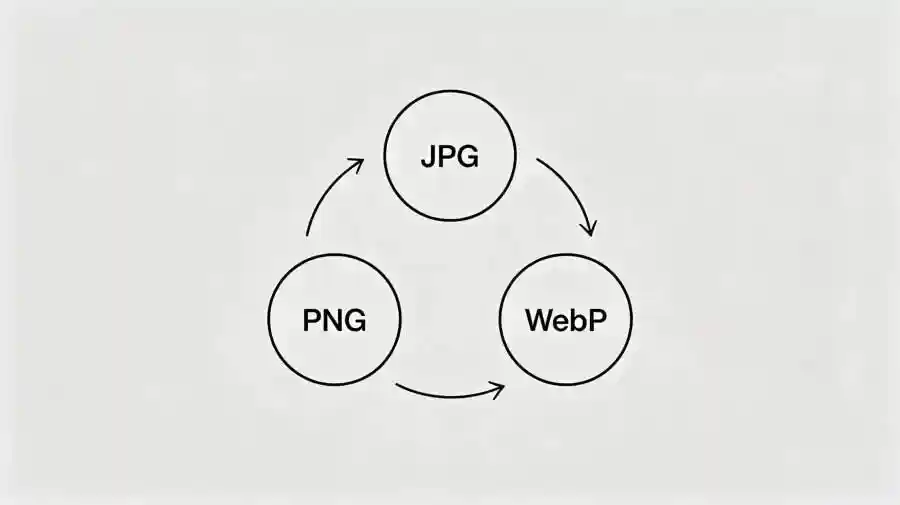
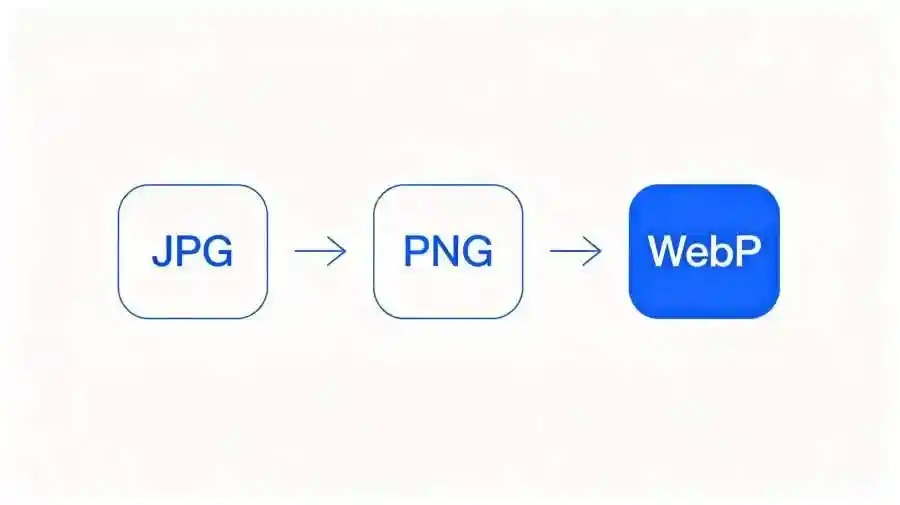
Supported formats – JPG, PNG, WebP
Let’s talk about formats. JPG is everywhere. It’s great for photos but compresses with loss. PNG is better for graphics with transparency. But both can be huge. WebP is Google’s format. It offers lossy and lossless compression. Many people don’t realise WebP supports transparency like PNG. Actually, lossy WebP is 25–35% smaller than JPEG at same quality. Lossless WebP is usually 26% smaller than PNG. The catch? Some old browsers don’t support it. But that’s rare now. I always use WebP for my site. You should too. Just keep a fallback for legacy browsers. Simple, right?
Single image conversion steps
I’ll walk you through one image. First, open Squoosh in your browser. Drag your JPG or PNG into the drop area. It loads instantly. On the right side, you see the output. Click “Compress” tab. Choose WebP encoder. Adjust the quality slider. I usually set it to 75–80. The preview updates in real time. You can compare original vs compressed size. Once satisfied, click the download arrow. That’s it. One clean WebP file. I’ve done this hundreds of times. It takes ten seconds.
Batch conversion steps
For many images, doing one by one is boring. I use a tool called “WebP Batch Converter”. It’s also browser‑based. Honestly, I found it on GitHub. You select multiple files at once. Click “Add Files”. Then choose output format (WebP). Set quality globally. Hit “Convert All”. It processes them in parallel. No server, no watermark. The files download as a zip. I once optimized 50 product photos in under two minutes. That saved my afternoon. Just make sure your browser allows multiple downloads. Trust me, batch is the way to go for large projects.
Advantages: pure frontend, no server load, no watermark, no registration
This is my favorite part. The entire conversion happens in your browser. No data leaves your computer. That means zero server cost. You can convert thousands of images without hitting any API limit. Also, no watermark. I’ve seen online tools that stamp your image. That’s annoying. Plus, no registration needed. No email, no password. You just use it. I’ve been burned by free trials before. This tool is truly free. Security wise, your images never touch a third party. Perfect for sensitive content. If you’re a beginner, don’t overthink it. Just open the site and start converting.
Conclusion
WebP is the future of image optimization. With a free browser tool, you can convert single or batch images in seconds. No server load, no watermarks, no sign‑ups. Your site will load faster. Your users will thank you. Give it a try today.
发表评论